
Image & Content Bank
Our Image & Content Bank allows you to upload product materials for your retailers to use. You can upload various formats, including PDFs, videos, and images, ensuring that retailers have easy access to high-quality content. You can find the Image & Content Bank in your admin sidebar.
Supported Formats:
🔔 The following file formats are supported: PNG, JPG, DOCX, PDF, XLSX, MP4, MPEG, and AVI.
Organizing Your Content
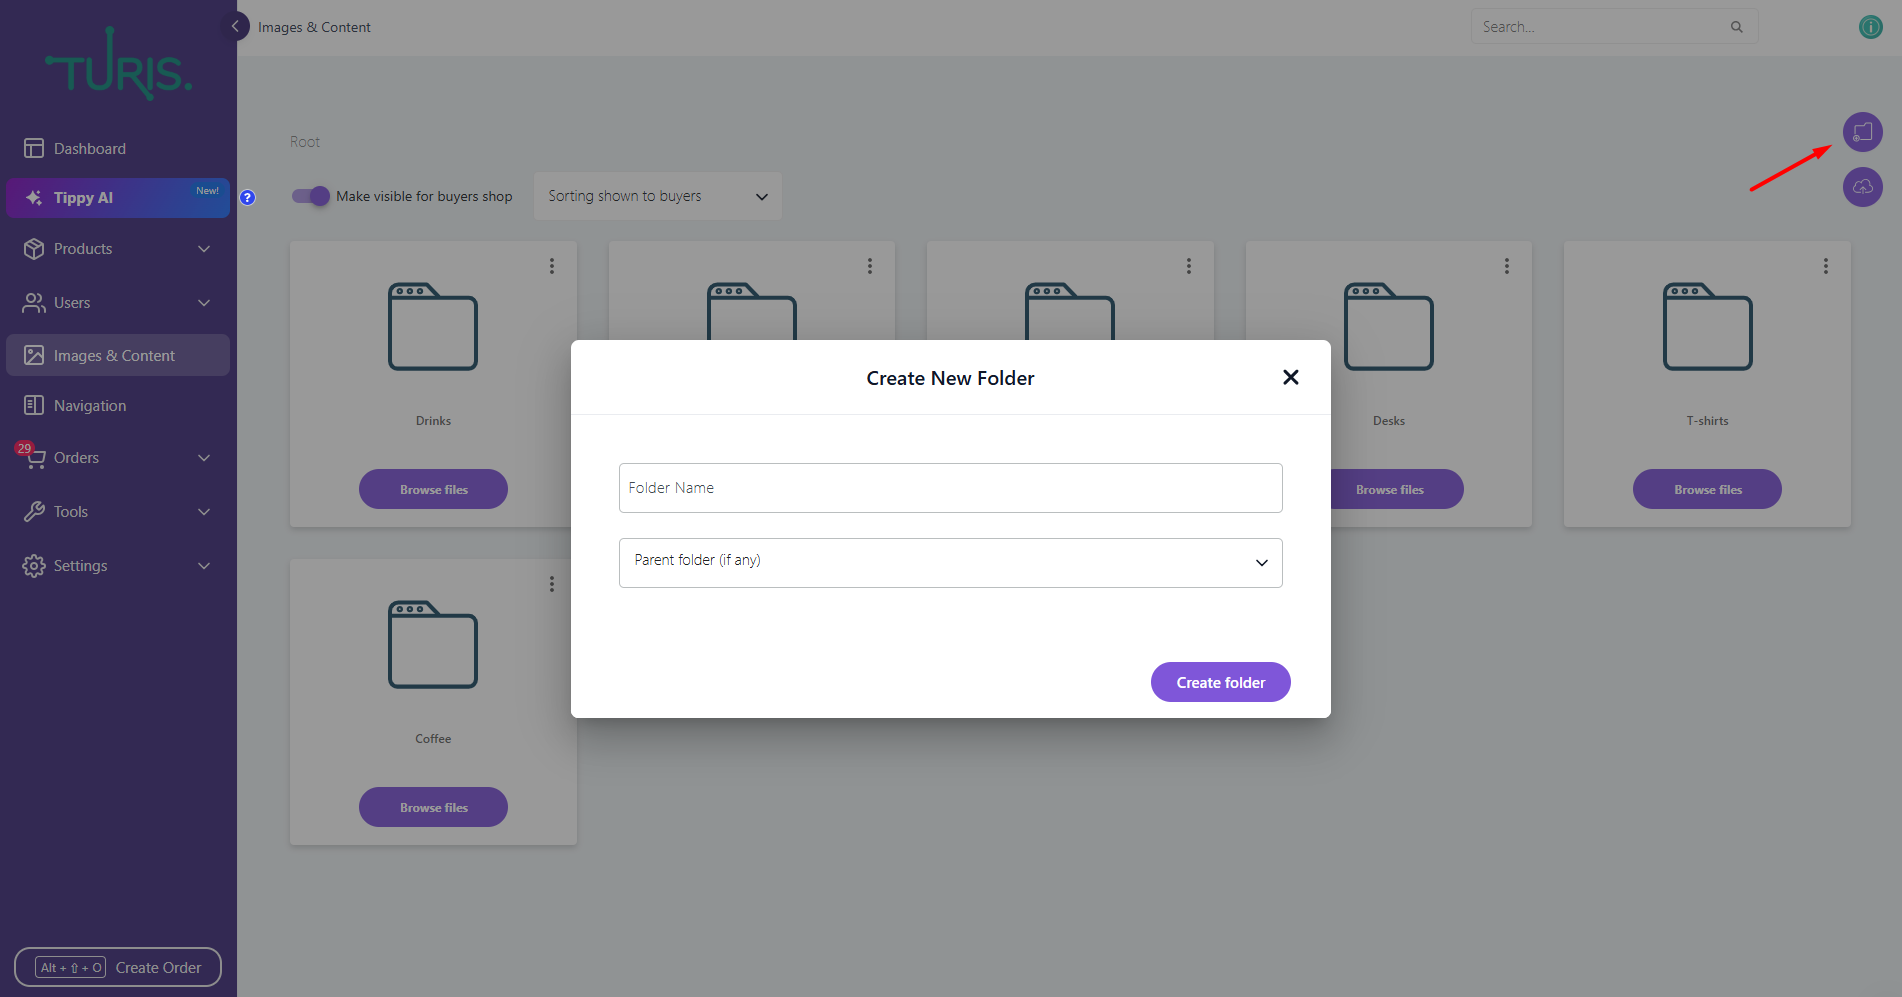
With the Image & Content Bank, you can create folders to better organize your materials for retailers. To create a folder:
- Click the button with the folder icon.
- Choose a name for the folder.
- Select whether the folder should be placed within another folder (Parent Folder).
- If you want the folder to be a parent folder, leave this field empty.
- Click Create Folder to finalize the process.
If your product images are already uploaded, you may notice some pre-existing folders. These are auto-generated based on your product categories. Inside these folders, you will find images associated with your products.
Automatically Created Folders
Folders are automatically created in Image & Content based on the categories applied to products. These folders will contain subfolders based on subcategories, if any. Each product will have its own folder named after the product name and SKU. If new products are added to a category, a corresponding folder will also be created within the category folder in the Image & Content Bank.
Automatically created folders cannot be deleted, only hidden, unless:
- The category is removed in Products > Categories.
- There are no products assigned to the category anymore.
Uploading Files
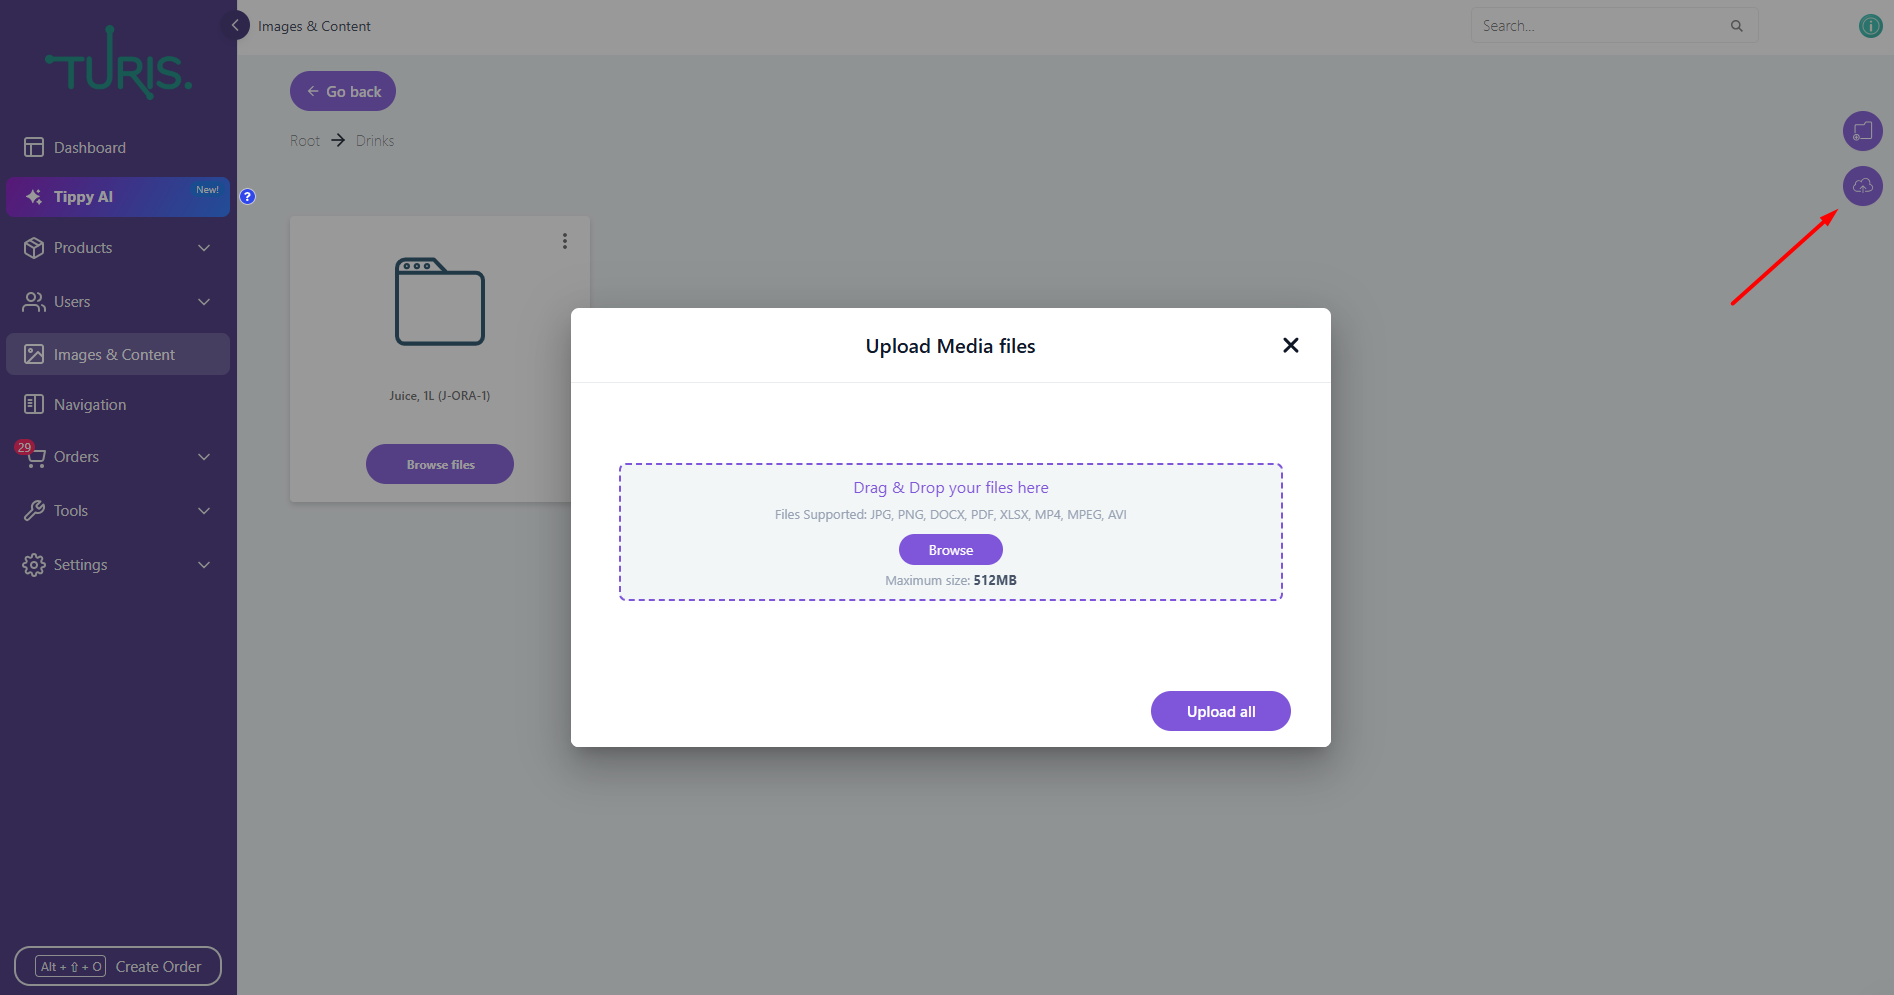
To upload files into a folder:
- Open the folder where you want to add files.
- Click the button with the cloud icon.
- Select or drag and drop the files you want to upload.
- Click Upload All to begin the upload process.
- Once uploaded, a green bar and ‘Upload completed’ message will confirm the successful upload.
- Click Done, and your files will now be visible in the folder.
Creating Subfolders
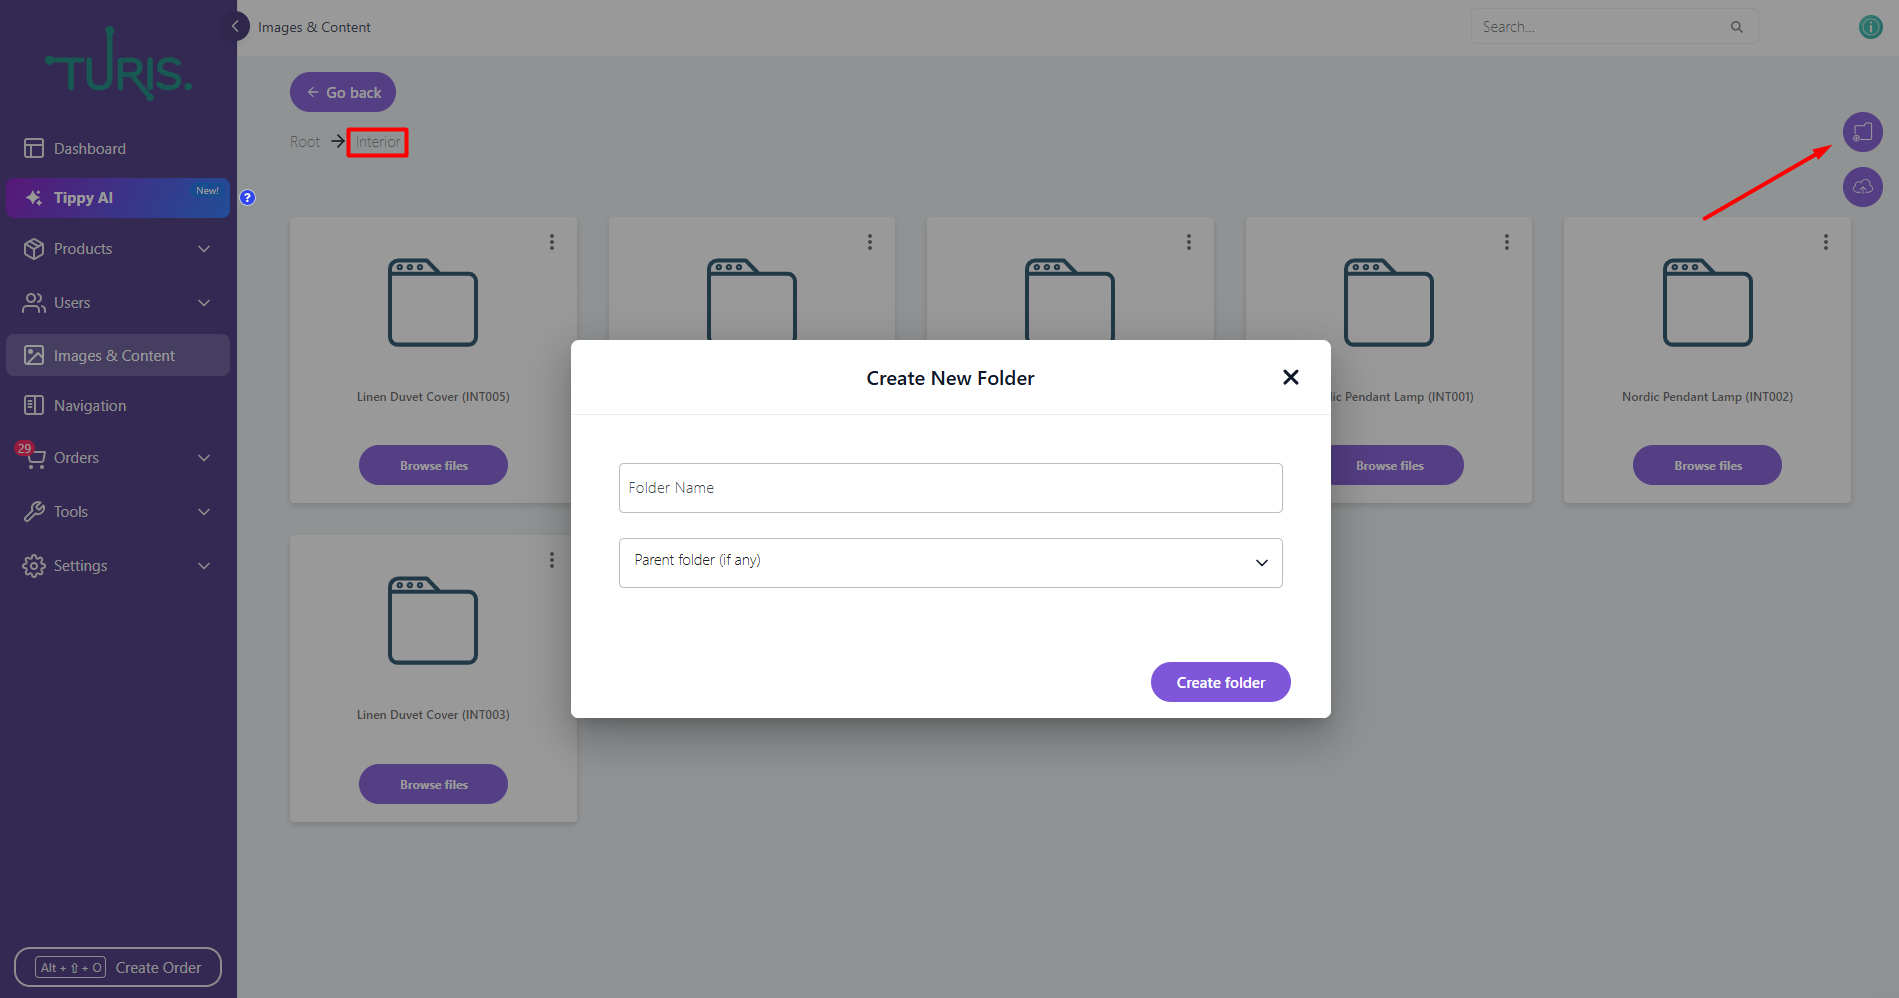
To create a subfolder within an existing folder:
- Open the parent folder.
- Click the folder icon.
- Enter a name for the subfolder.
- Click Create Folder.
You can continue creating additional subfolders within subfolders by following the same steps.
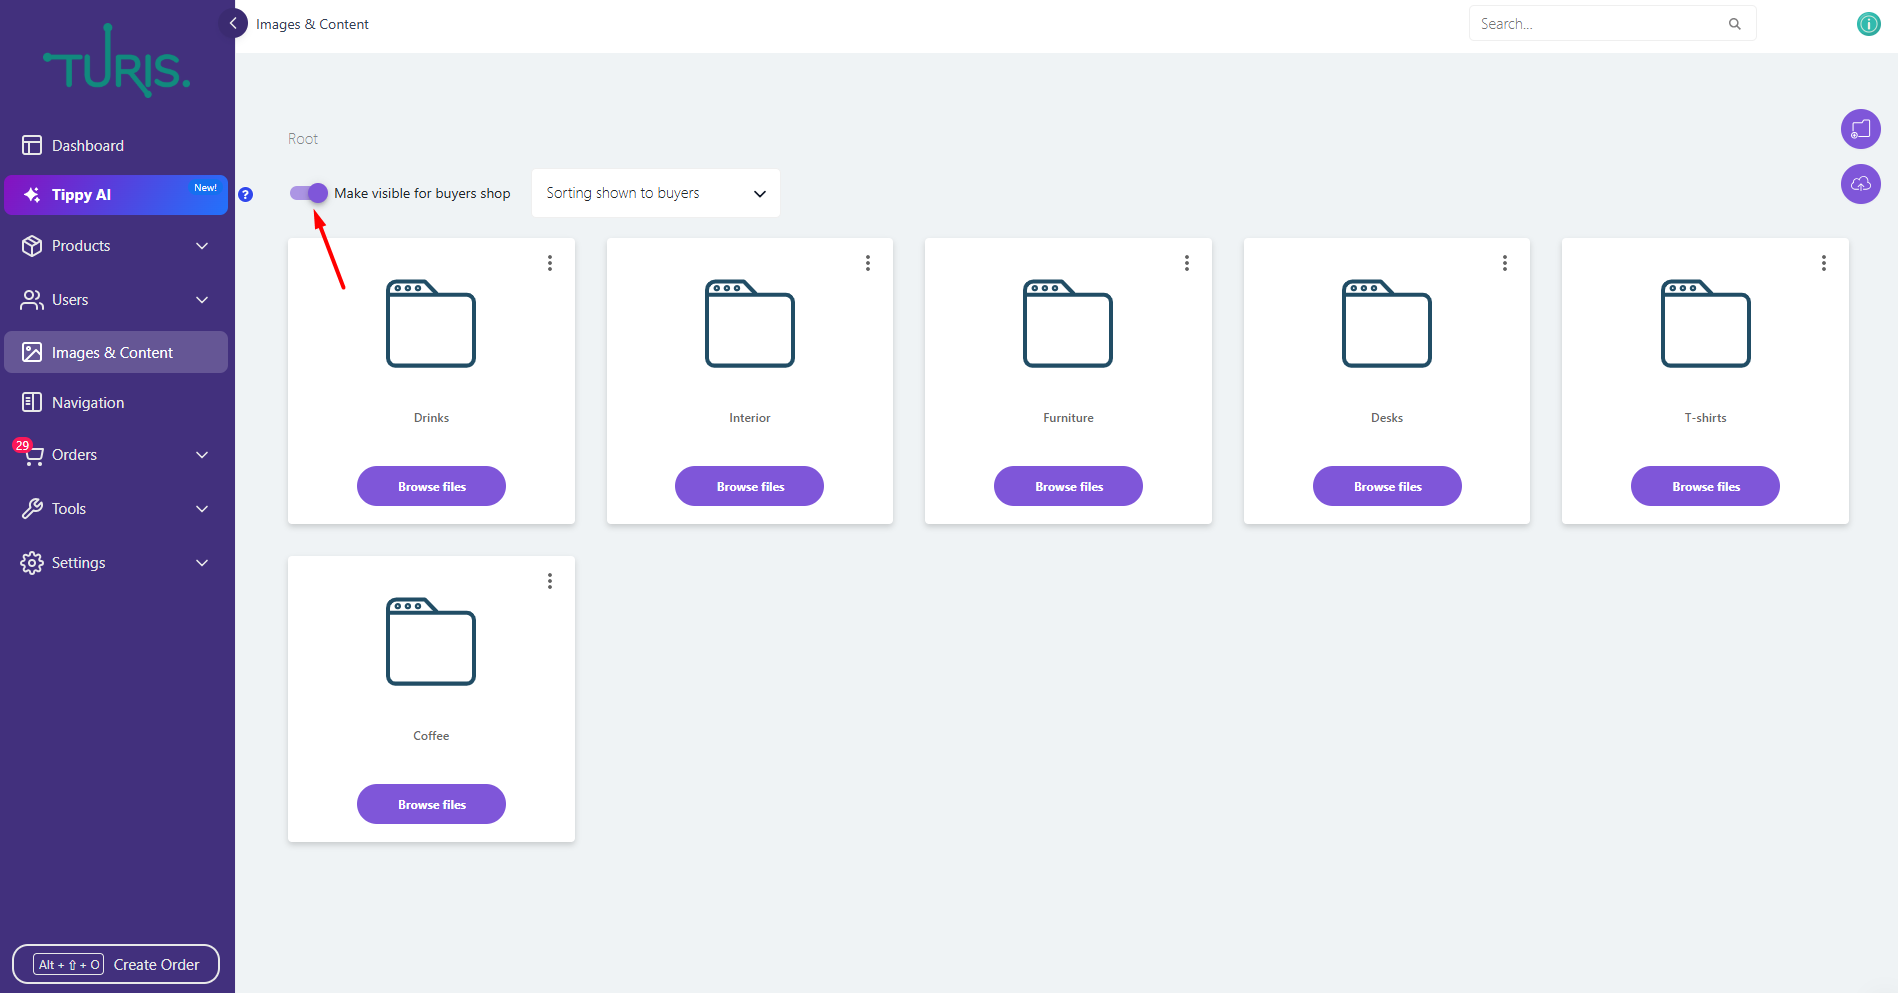
Managing Folder Visibility
To ensure retailers can see the folders, toggle the Make visible for buyers shop switch:
- Off: Retailers will not be able to see the folder.
- On: The folder will be visible in the retailer's view.
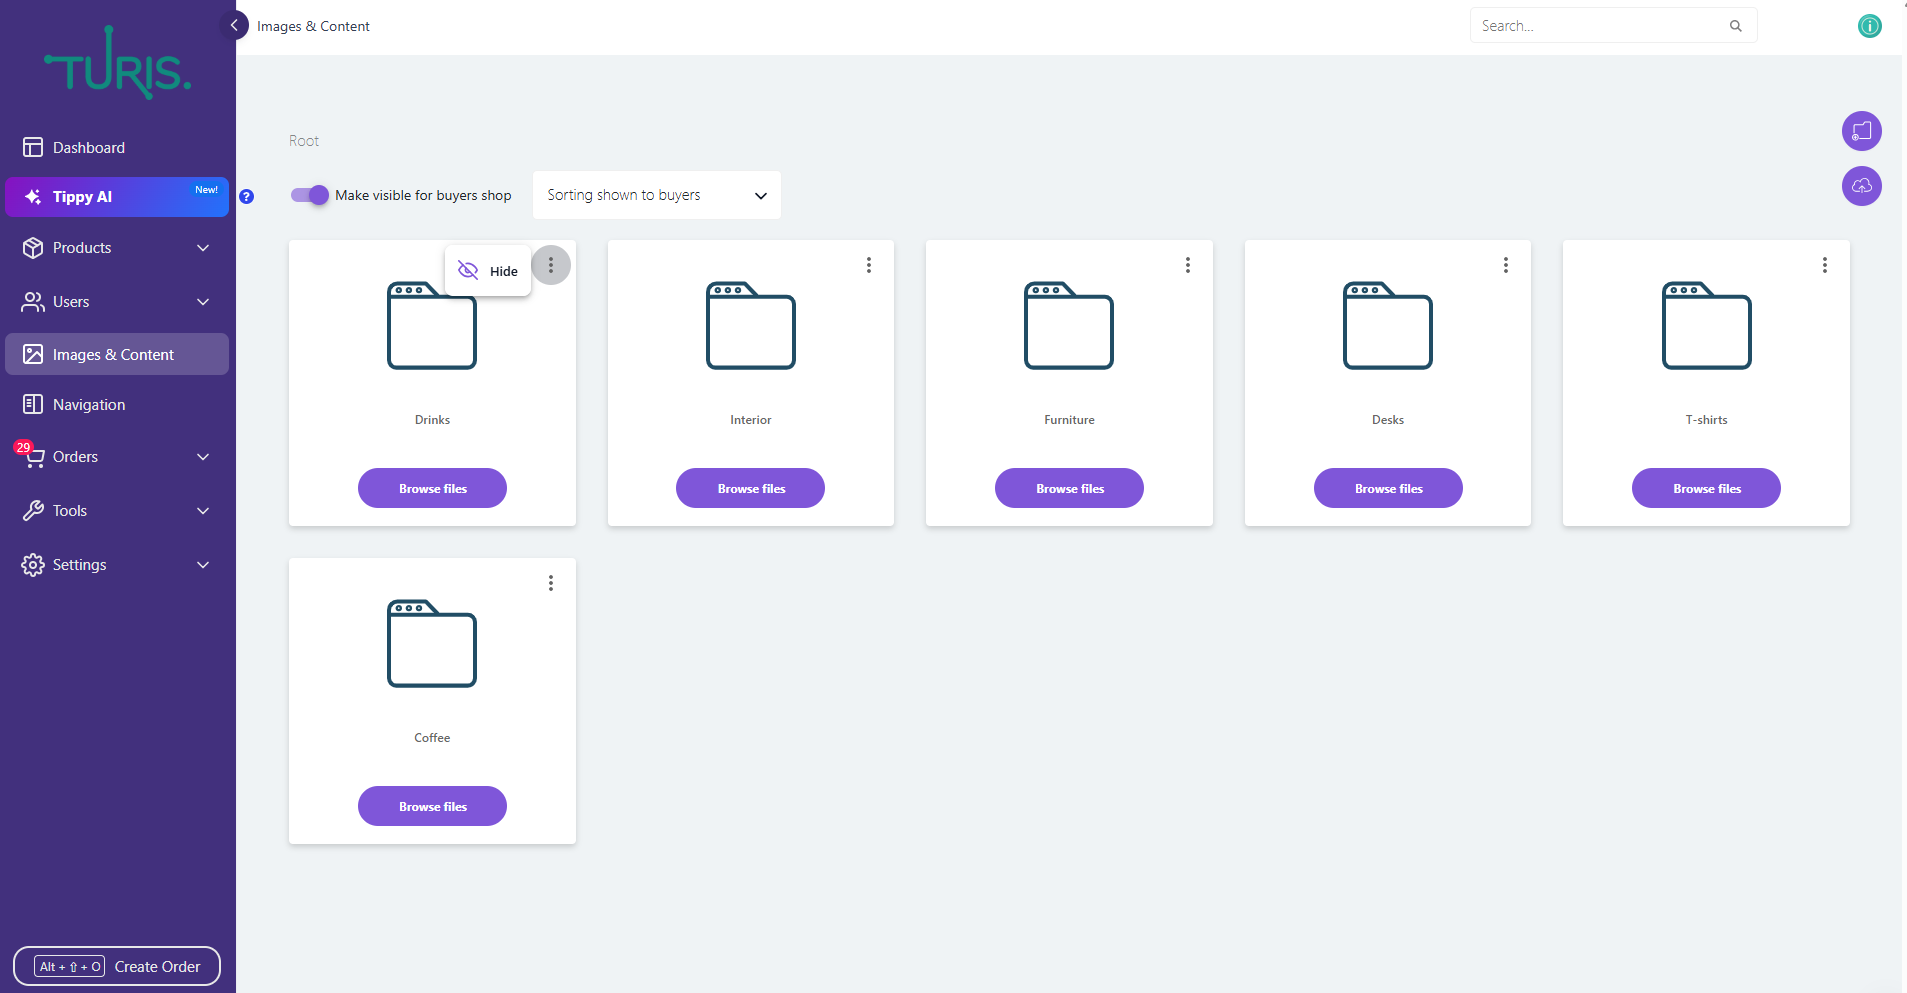
If you have old or auto-generated folders you do not want retailers to see, you can hide them:
- Click the three-dotted icon in the folder's corner.
- Select Hide.
- The folder will now appear as hidden.
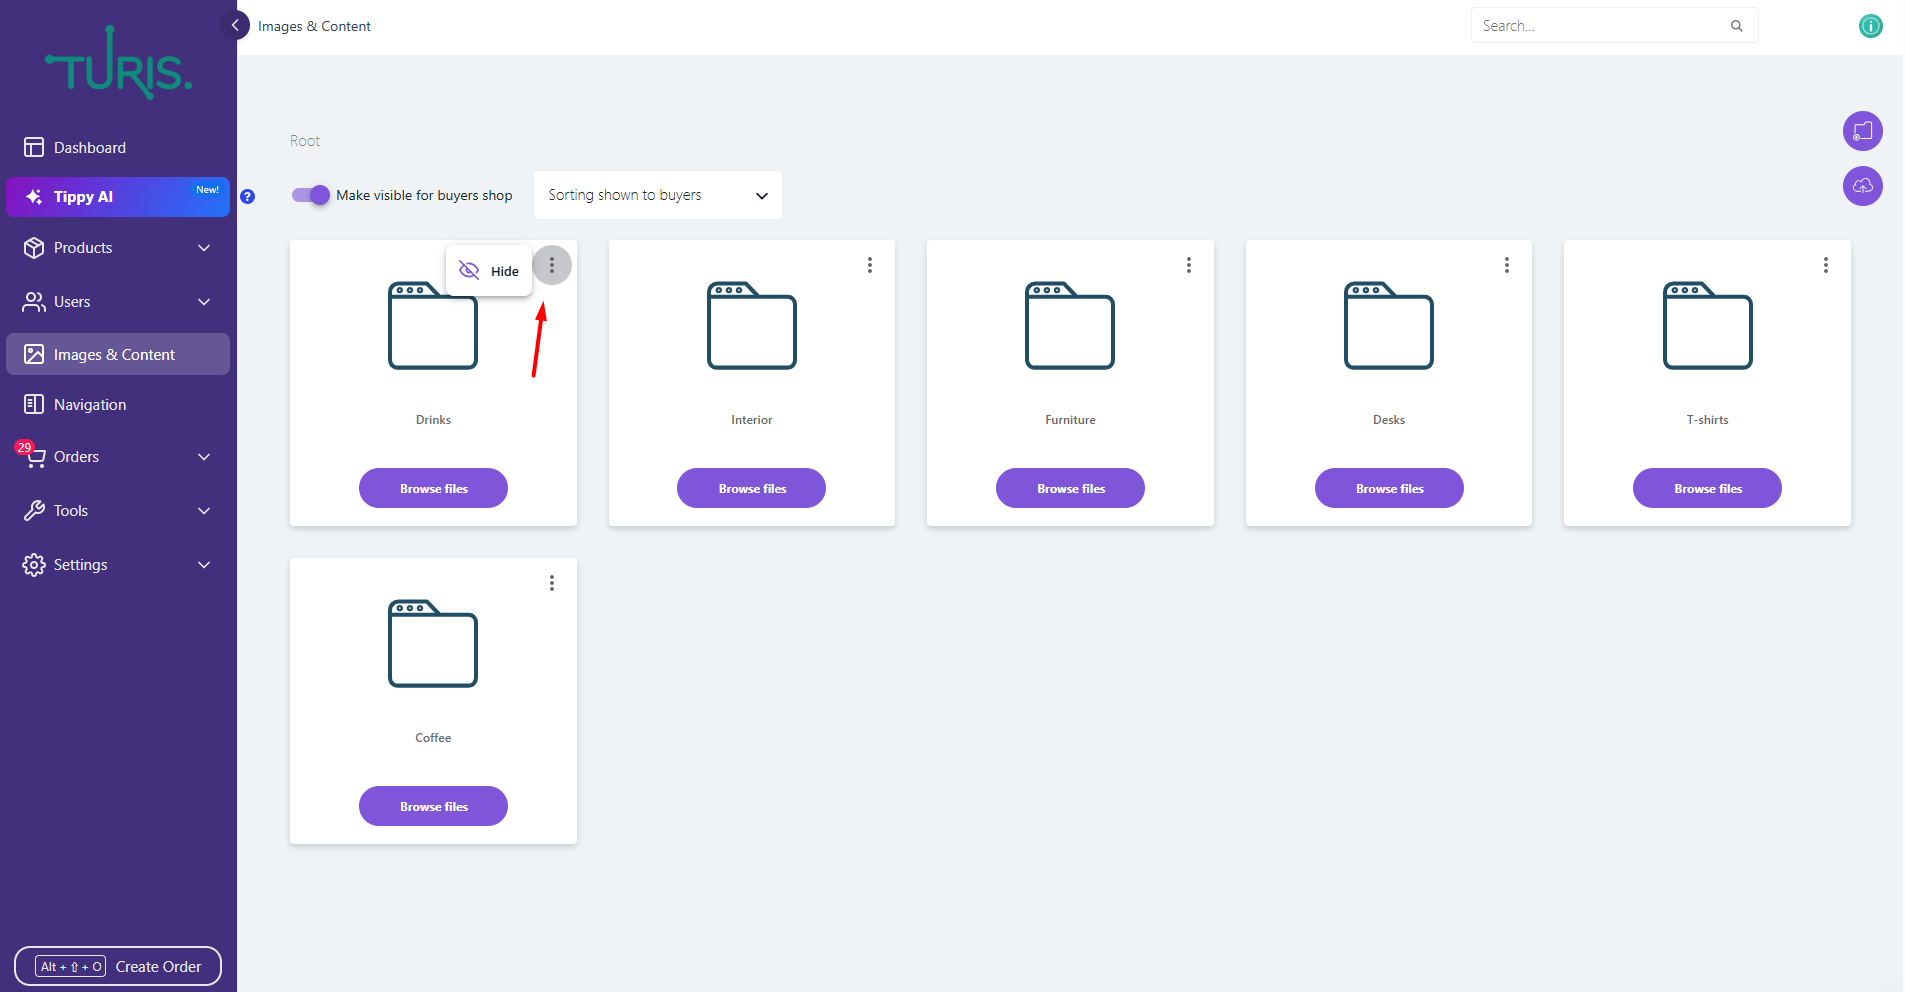
To delete a folder, follow the same steps but select Delete instead.
🔔 Note: Auto-generated folders cannot be deleted, only hidden.
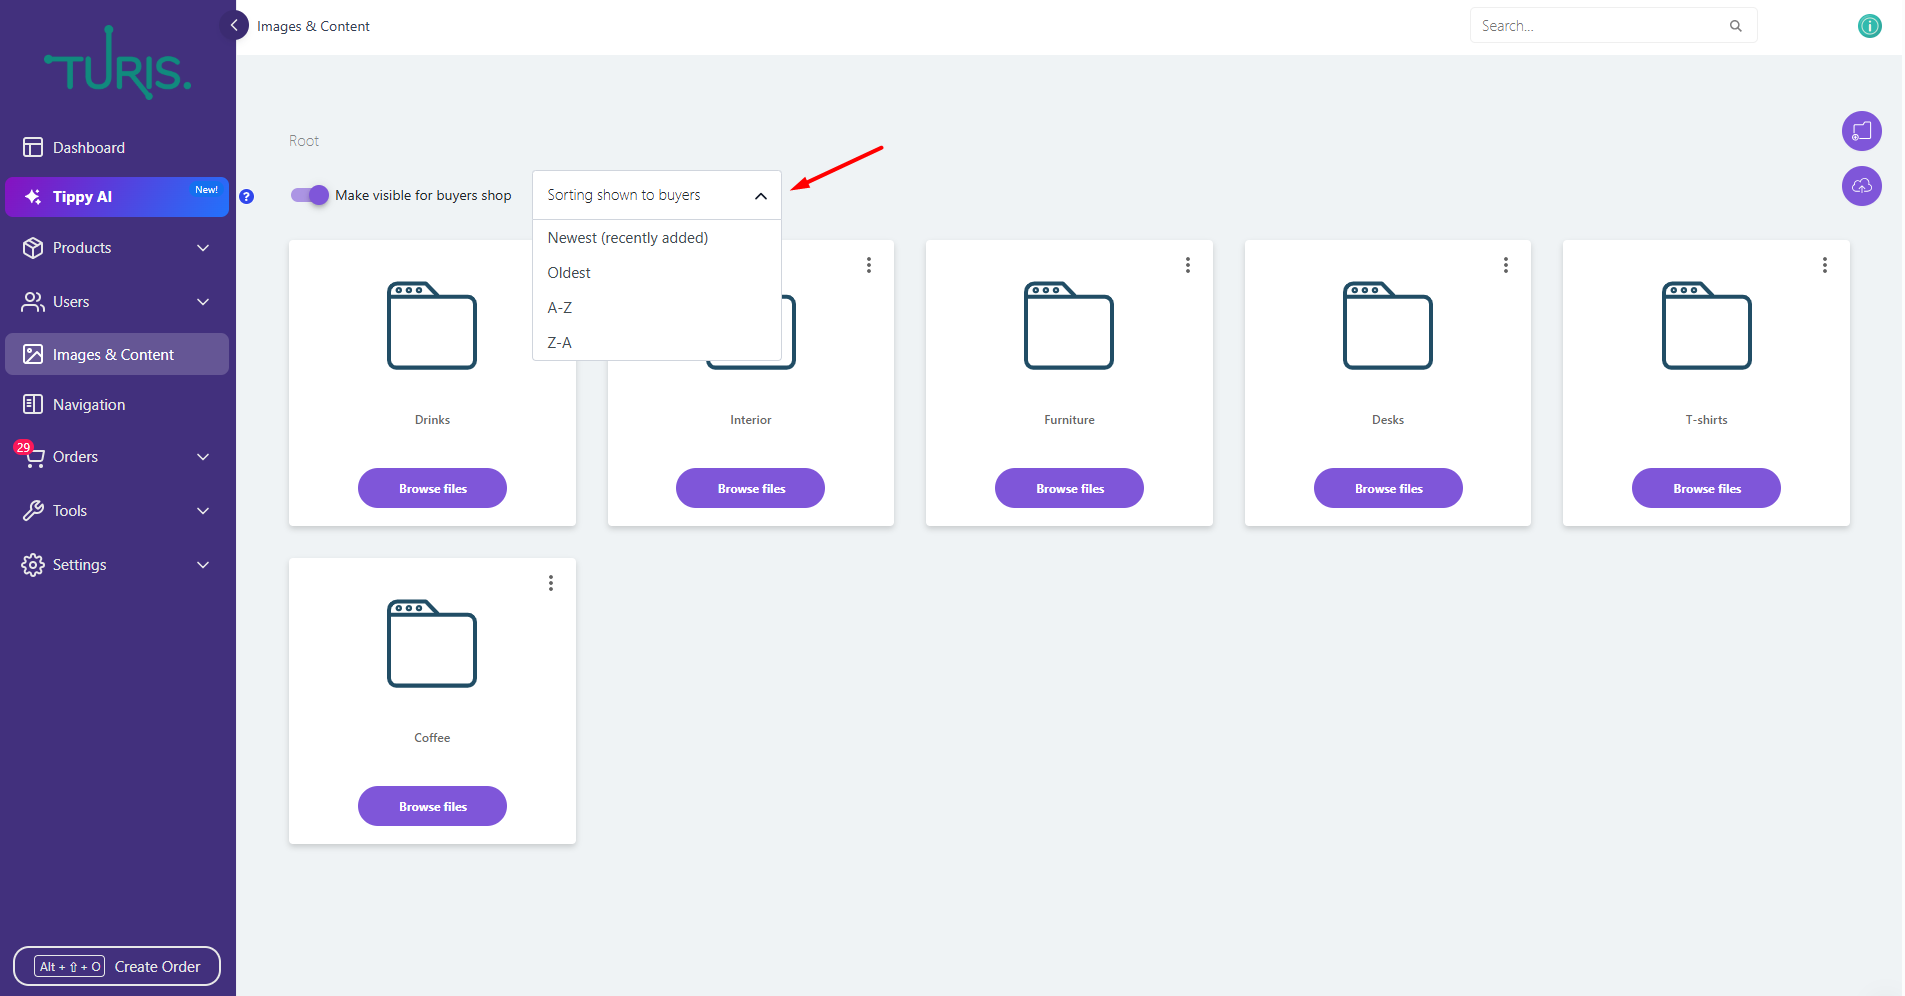
Sorting Content
You can customize how content is displayed to retailers by selecting a sorting option next to the Make visible for buyers shop toggle. The available sorting options are:
- Newest (recently added)
- Oldest
- A-Z
- Z-A
Retailer View
Retailers will see the Image & Content Bank as follows:
- Access a parent or subfolder to download single images or content.
- Open a parent folder to download an entire subfolder of images and content.
- Download a parent folder along with all its subfolders and contents.

The Image & Content bank is always found at the bottom of the sidebar on the buyer side;
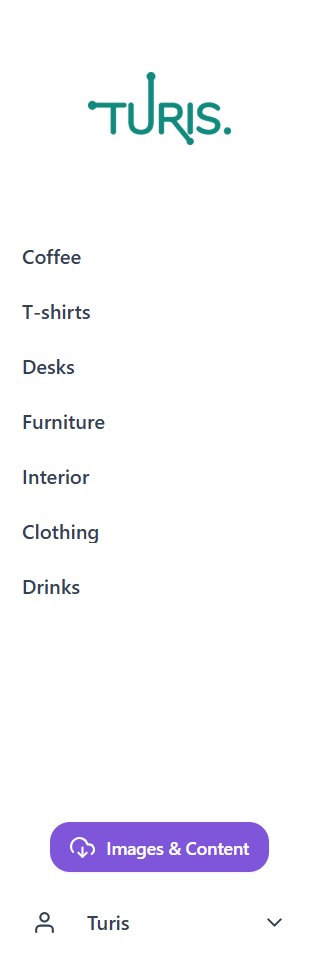
Image Link with Order Confirmation
Wholesalers can also send retailers an email or include an image link in their order confirmation. This link provides access to all images (only) of the products in the specific order for which they are receiving the order confirmation.

Read more about sending retailers an image link with their order here.
The email received by retailers will include a direct download link for their selected content, ensuring easy access to the necessary materials.
By following these steps, you can efficiently manage your Image & Content Bank and provide retailers with a well-organized library of product materials.