How to Create Sales Agents
Introduction: What Are Sales Agents?
Sales Agents are individuals assigned to represent your brand or products to retailers. They act as intermediaries, helping to drive sales and manage relationships with your retail partners. By creating Sales Agents in your system, you can ensure that they have the tools and access needed to place orders, add notes to retailers, and more. This guide will walk you through the process of creating and managing Sales Agents effectively.
Admin Setup: Creating and Assigning Sales Agents
1. Access the Sales Agent Section
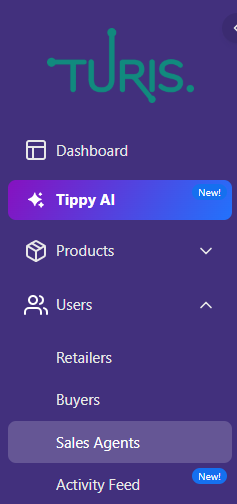
- In the left-hand menu, click on 👤 Users, then select Sales Agents.
2. Add a New Sales Agent
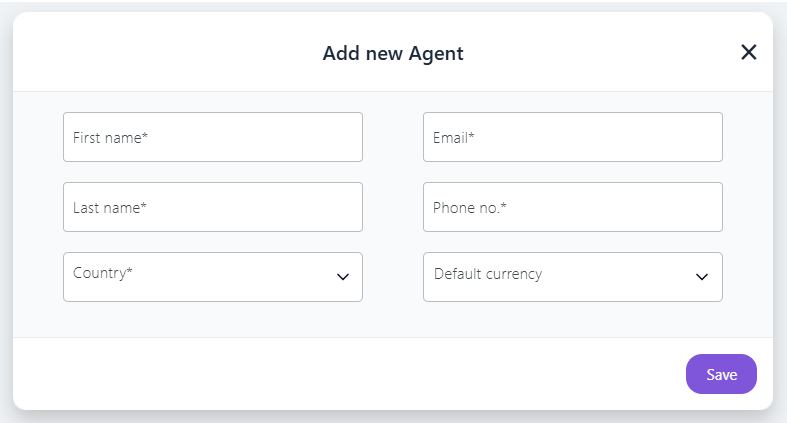
- Click the "+" (plus) button in the upper-right corner to create a new Sales Agent. The following window will appear.

3. Enter Sales Agent Details
- Fill in the mandatory fields, which are marked with an asterisk (*):
- First Name *
- Last Name *
- Country *
- Email *
- Phone Number *
- Once all required fields are filled, click Save.
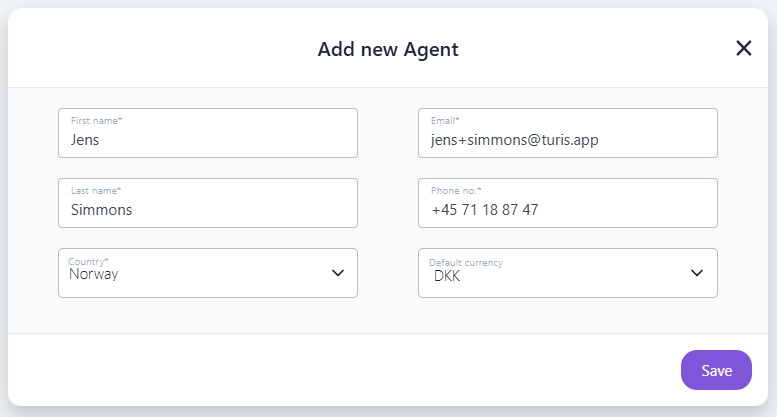
Note: After saving, an invitation will be sent to the email address you provided. The Sales Agent overview will update accordingly.
Important: You cannot use the same email address for two different Sales Agents.
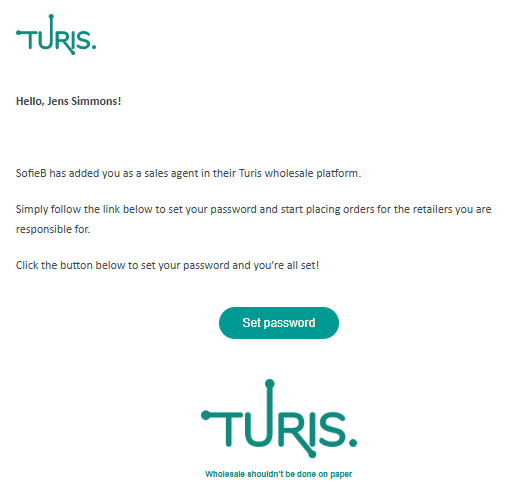
5. Sales Agent Invitation
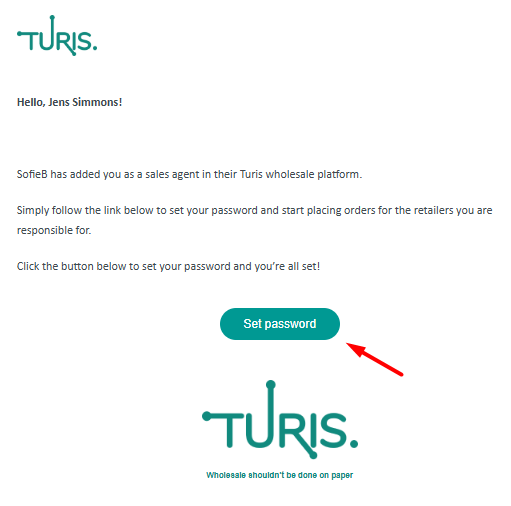
- The Sales Agent will receive an email invitation with a link to set their password.
5. Assign the Sales Agent to a Retailer
- After saving, click on the newly created Sales Agent. This will open their details page.
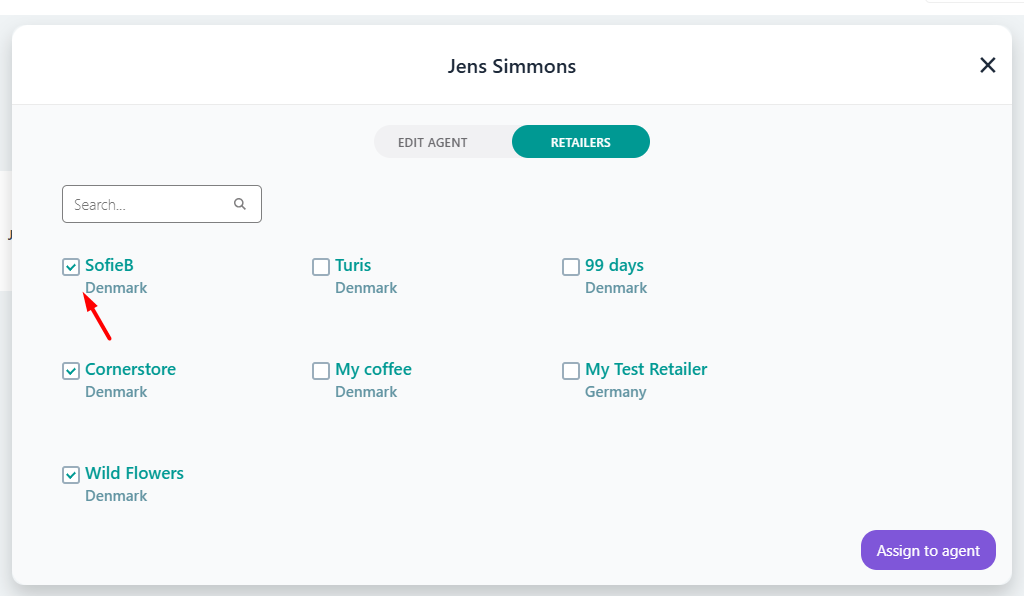
- Click the Retailers toggle switch, and the following window will appear.

- To assign the Sales Agent to a Retailer, click the "+" (plus) button.

- Check off which retailers should be assigned to the agent
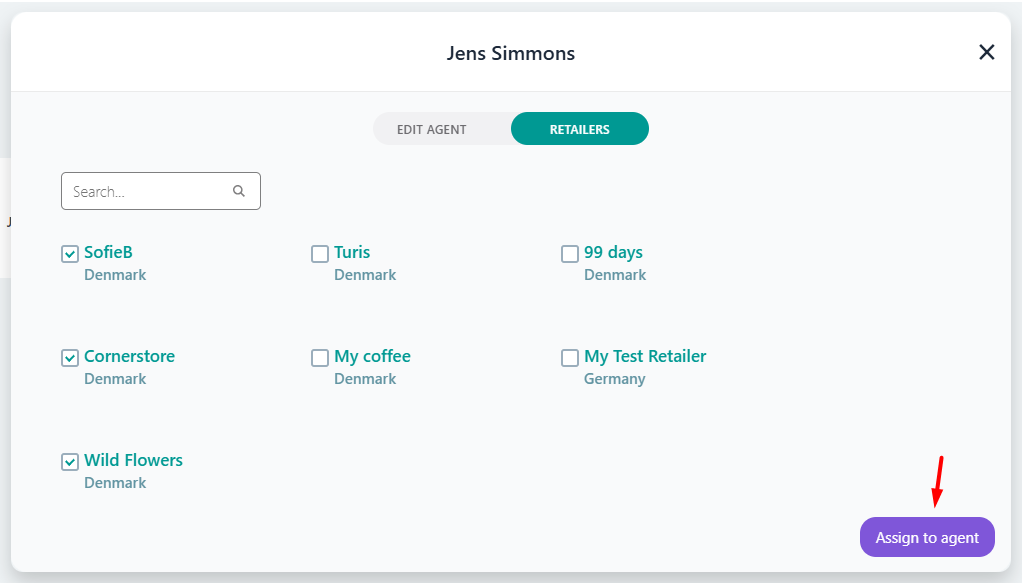
- Click the Assign to agent button in the bottom-right corner to finalize the assignment.
Sales Agent Setup: Invitation and Account Activation
6. Sales Agent Account Setup
- The invited Sales Agent will click the Set password button, which will redirect them to the following window:
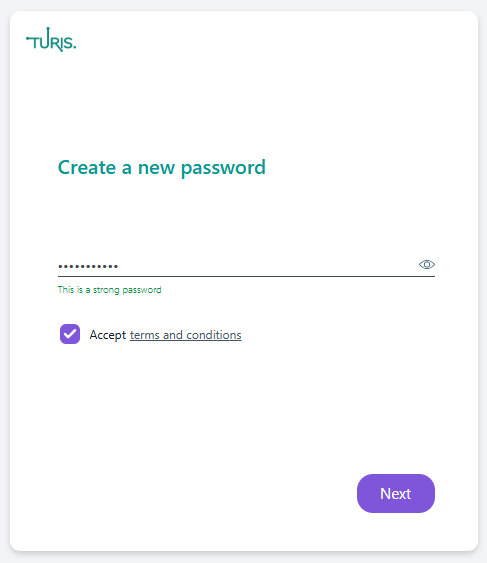
- After setting their password, they must check the box to accept the terms and conditions and click Next.
7. Sales Agent Dashboard
- Once the Sales Agent has created their password, they will be directed to your Turis webshop. The following window will appear.
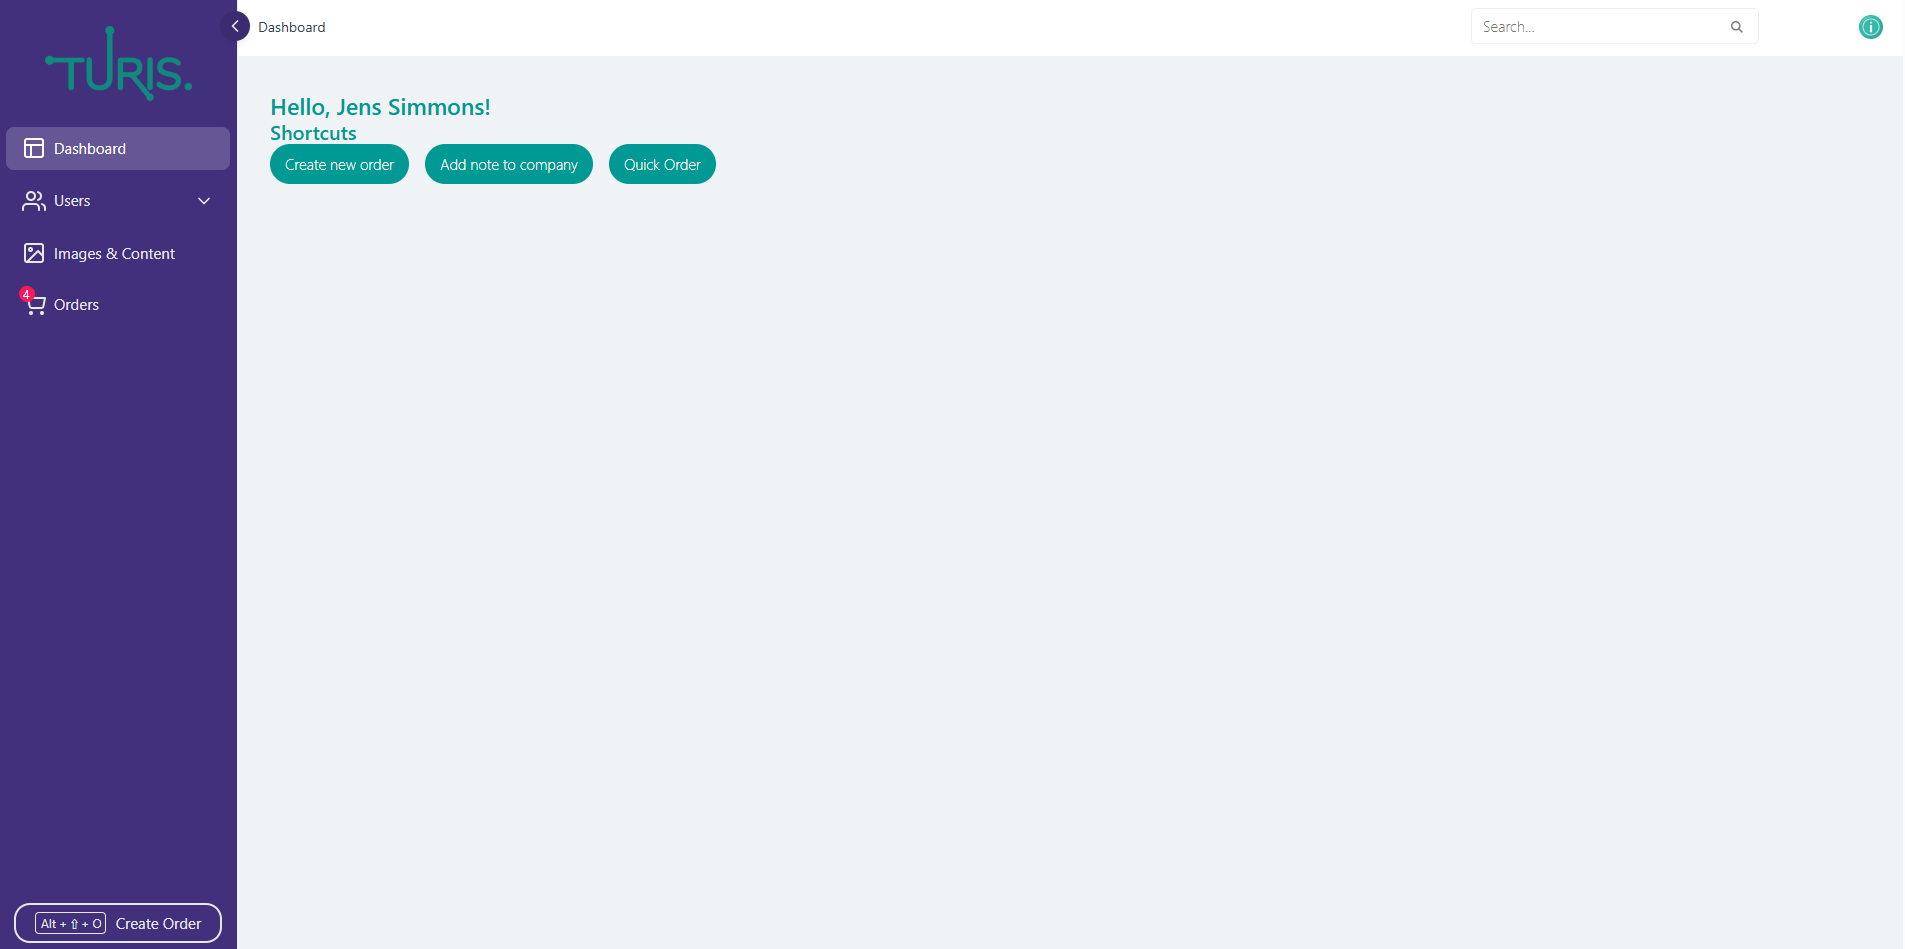
In this dashboard, the Sales Agent can:
- Add a note to company: This will add a note to the assigned company/retailer.
- Create a new order: The Sales Agent can browse the webshop and place orders.
- Quick Order: The agent can create an order, without any retailer details and add these later.
How Sales Agents Use Turis
Sales Agents play a key role in managing relationships with retailers and driving sales. In Turis, Sales Agents are provided with the necessary tools to browse the webshop, create orders, and communicate directly with the assigned retailers. By setting up a Sales Agent account, you give them the ability to place orders and add important notes to retailers, helping to streamline the sales process.
If you'd like to learn more about how Sales Agents can fully utilize their accounts and the functions available to them, check out the Sales Agent Guide: Optimizing Your Use of Turis.
