
Customize your own fields with Field Editor
Introduction
In this guide, you'll learn how to create and manage custom input fields for Products, Retailers, Buyers, and Sales Agents within Turis.
Turis offers a range of predefined input fields for Products, Retailers, Buyers, and Sales Agents. However, you have the flexibility to customize these fields by adding new ones or rearranging existing ones to meet your business needs.
The following sections will walk you through the process of adding and rearranging fields.
Accessing the Field Configuration Tool
To access the Field Editor, follow these steps:
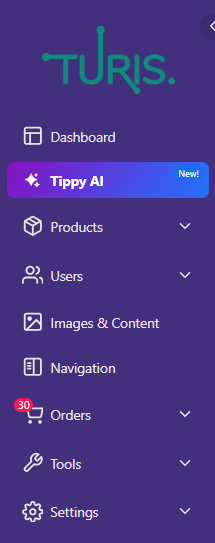
- Click on ⚙️ Settings in the menu on the left-hand side.
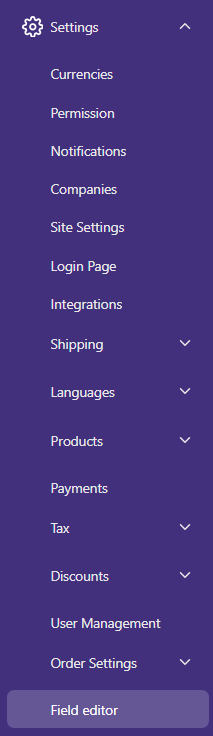
- Select Field Editor from the options.
How to Add or Rearrange Input Fields for Products
If you need to add or rearrange input fields like Ingredients, Flavor, Tariff Code, or any other field, here's how to do it:
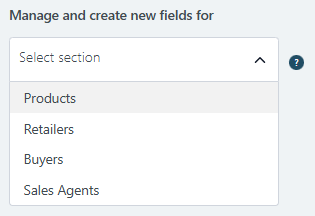
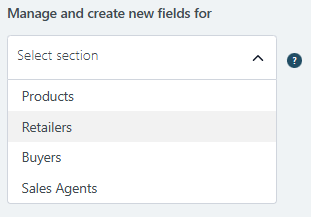
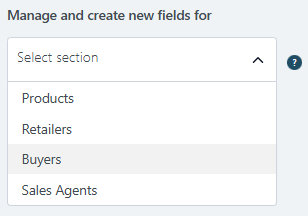
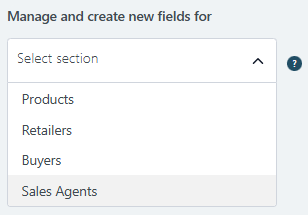
- Click on the dropdown menu and select Products.
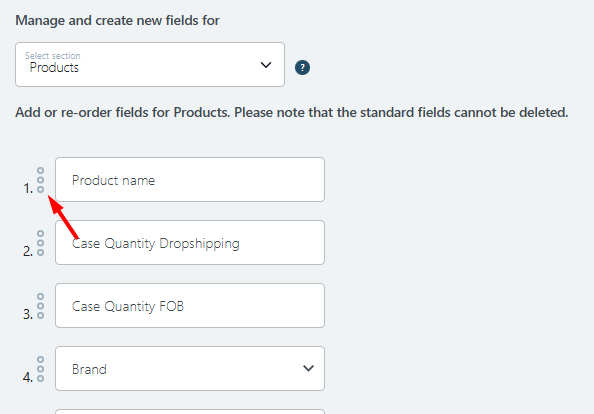
- Your window will display the existing input fields for Products.
- To rearrange the order of input fields, click the three dots (•••) to the left of the field you want to move. Then, drag and drop it to the desired position.
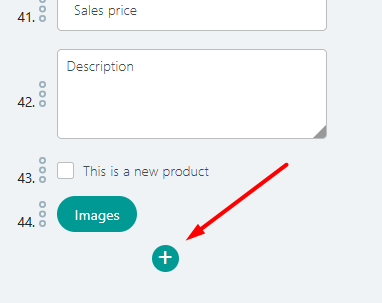
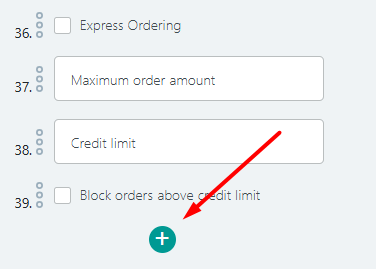
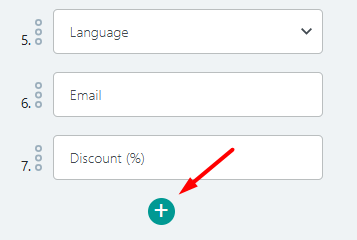
- To add a new input field, scroll to the bottom and click the + (Plus) icon.
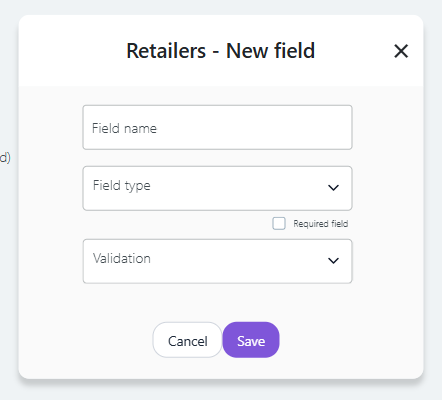
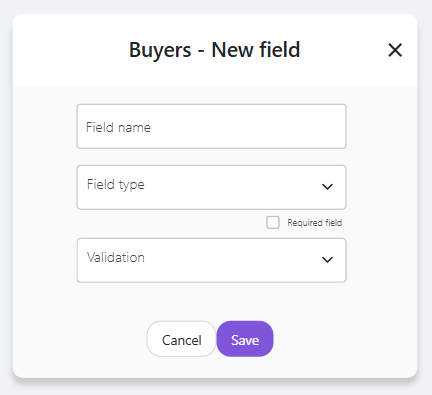
- In the pop-up window, name the new input field, define the field type, specify if it is required, and set the validation rules.
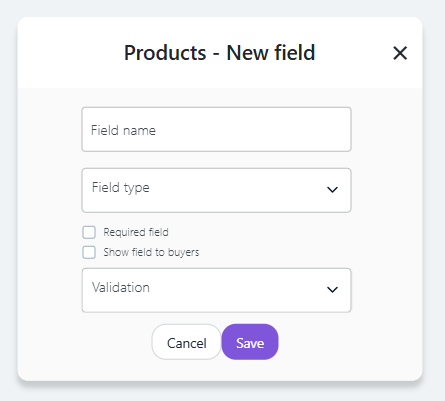
- Once you're done, click Save. The new field is now added. You can drag and drop it to adjust its placement.
- To see the new field in action, navigate to the 📦 Products section. When you click + (Plus) to add a new product, the new input field will be visible.
How to Add or Rearrange Input Fields for Retailers
Follow the same steps as for Products, but choose Retailers from the dropdown menu instead:
- Click on the dropdown menu and select Retailers.
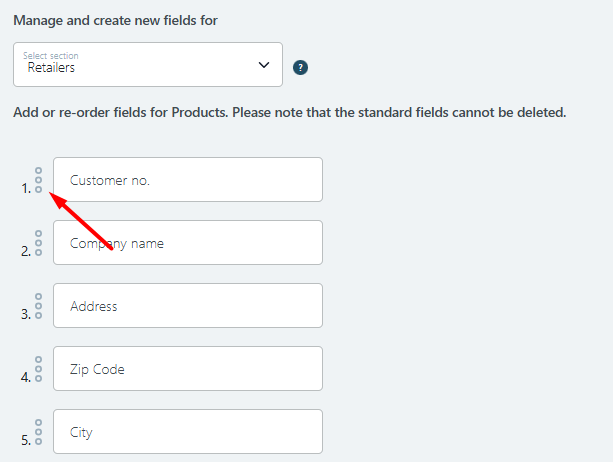
- You'll see the default fields already available for Retailers in Turis.
- To rearrange the order, click the three dots (•••) to the left of the field and drag it to the desired position.
- To add a new input field, scroll to the bottom and click the + (Plus) icon.
- Define the new field by naming it, setting the field type, choosing whether it's required, and specifying validation rules.
- Click Save once you're done. The field will be added, and you can rearrange it as needed.
- To use the new field, go to 👤 Users, then Retailers. When you click + (Plus) to add a new retailer, you'll see the new field available.
How to Add or Rearrange Input Fields for Buyers
For Buyers, the process is similar:
- Click on the dropdown menu and select Buyers.
- You will be able to see all the default fields for Buyers.
- Rearrange input fields by clicking the three dots (•••) and dragging the field to your preferred position.

- To add a new input field, scroll down and click the + (Plus) icon.
- Define the field, including naming it, setting the field type, and specifying whether it's required or has any validation rules.
- Once done, click Save. The new field is now added, and you can adjust its position as needed.
- To use the new field, go to 👤 Users, then Buyers. When you click + (Plus) to add a new buyer, the field will be available for input.
How to Add or Rearrange Input Fields for Sales Agents
Lastly, for Sales Agents, follow these steps:
- Click on the dropdown menu and select Sales Agents.
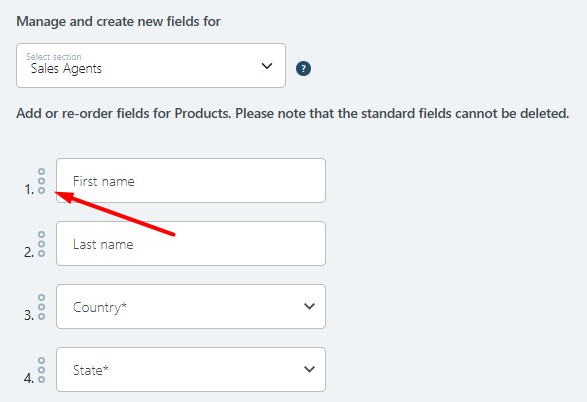
- You'll see the default fields available for Sales Agents in Turis.
- To change the order of the fields, click the three dots (•••) to the left of the field and drag it to the correct position.
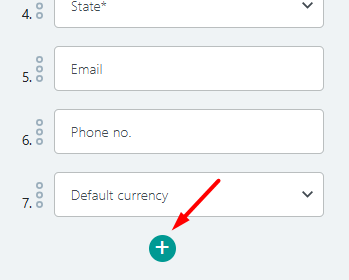
- To add a new input field, scroll to the bottom of the page and click the + (Plus) icon.
- Enter the necessary details for the new field, such as its name, type, and any validation requirements.
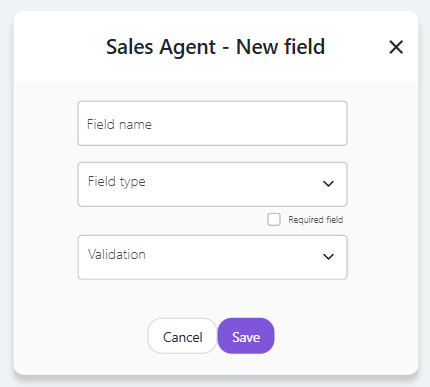
- Click Save to finalize. The field will be added, and you can drag and drop it to arrange it.
- To add a Sales Agent and fill out the new field, go to 👤 Users, then Sales Agents. When you click + (Plus) to add a new sales agent, you’ll be able to fill in the new field.
By following these simple steps, you can customize input fields for Products, Retailers, Buyers, and Sales Agents to better suit your needs.